Save an image to MacOS file system with SwiftUI

SwiftUI does not have a control to present an open/save dialog to the user to allow saving files to the macOS filesystem. One could build such a view from scratch, but it is easier to use NSSavePanel from AppKit. This article demonstrates how to use NSSavePanel to get the URL for the file to be saved and use NSBitmapImageRep to save a png image. Note it is necessary to set the User Selected File Read/Write entitlements for the app to allow the app to save files.
Starter App
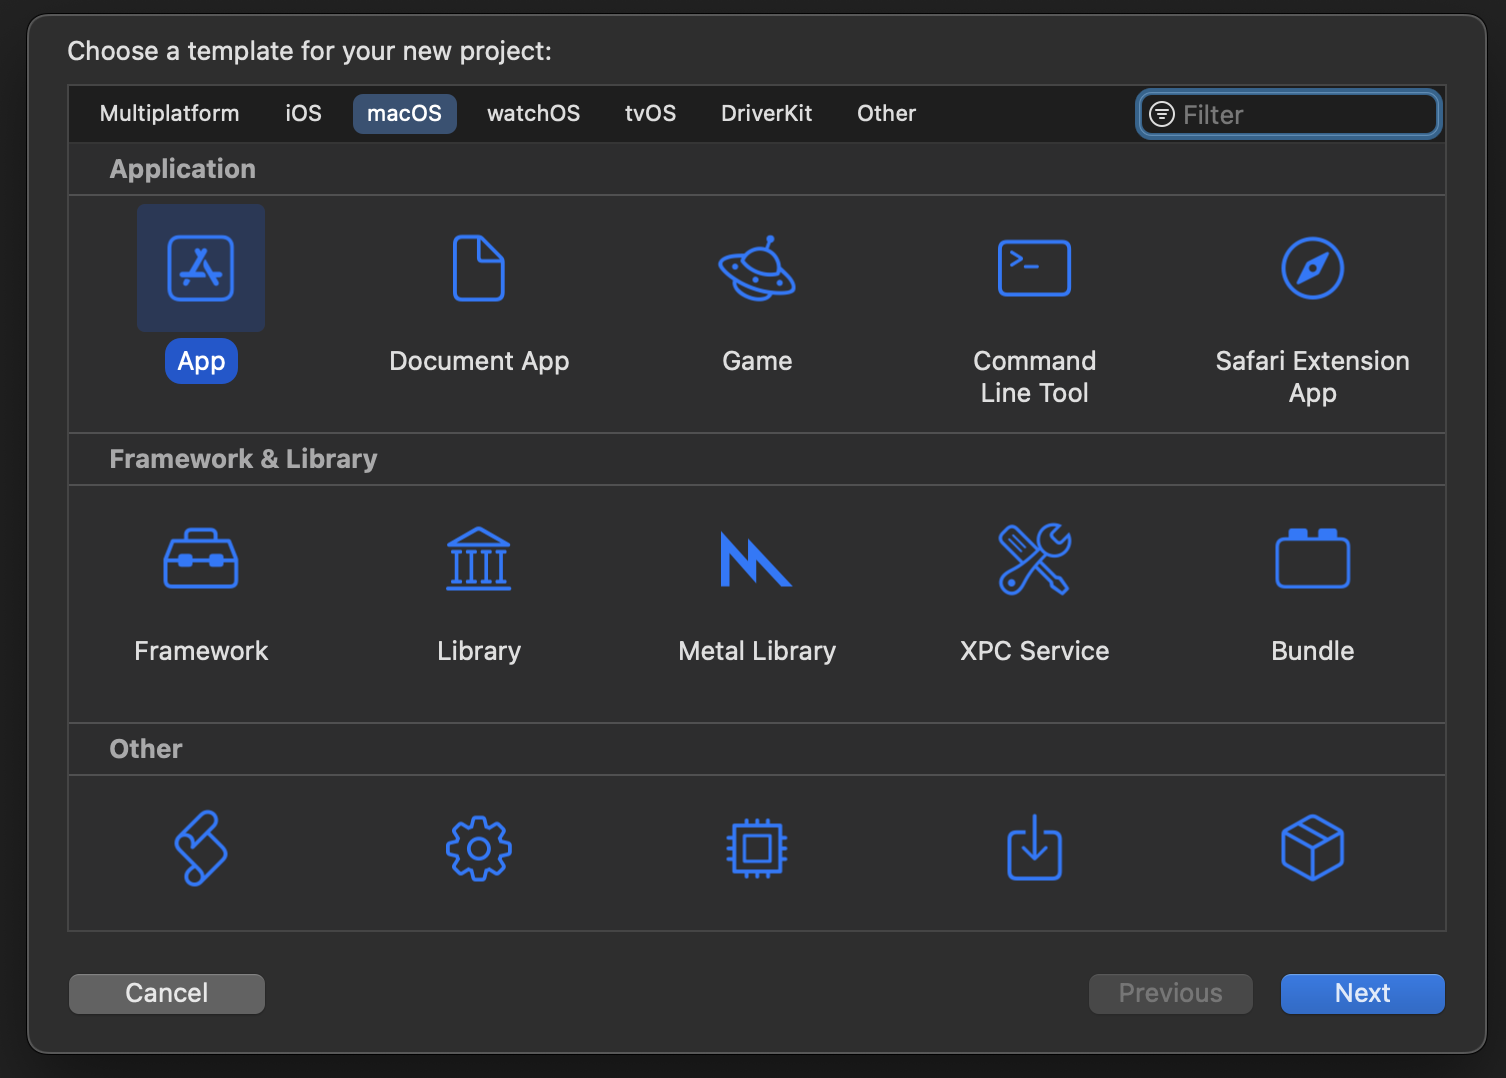
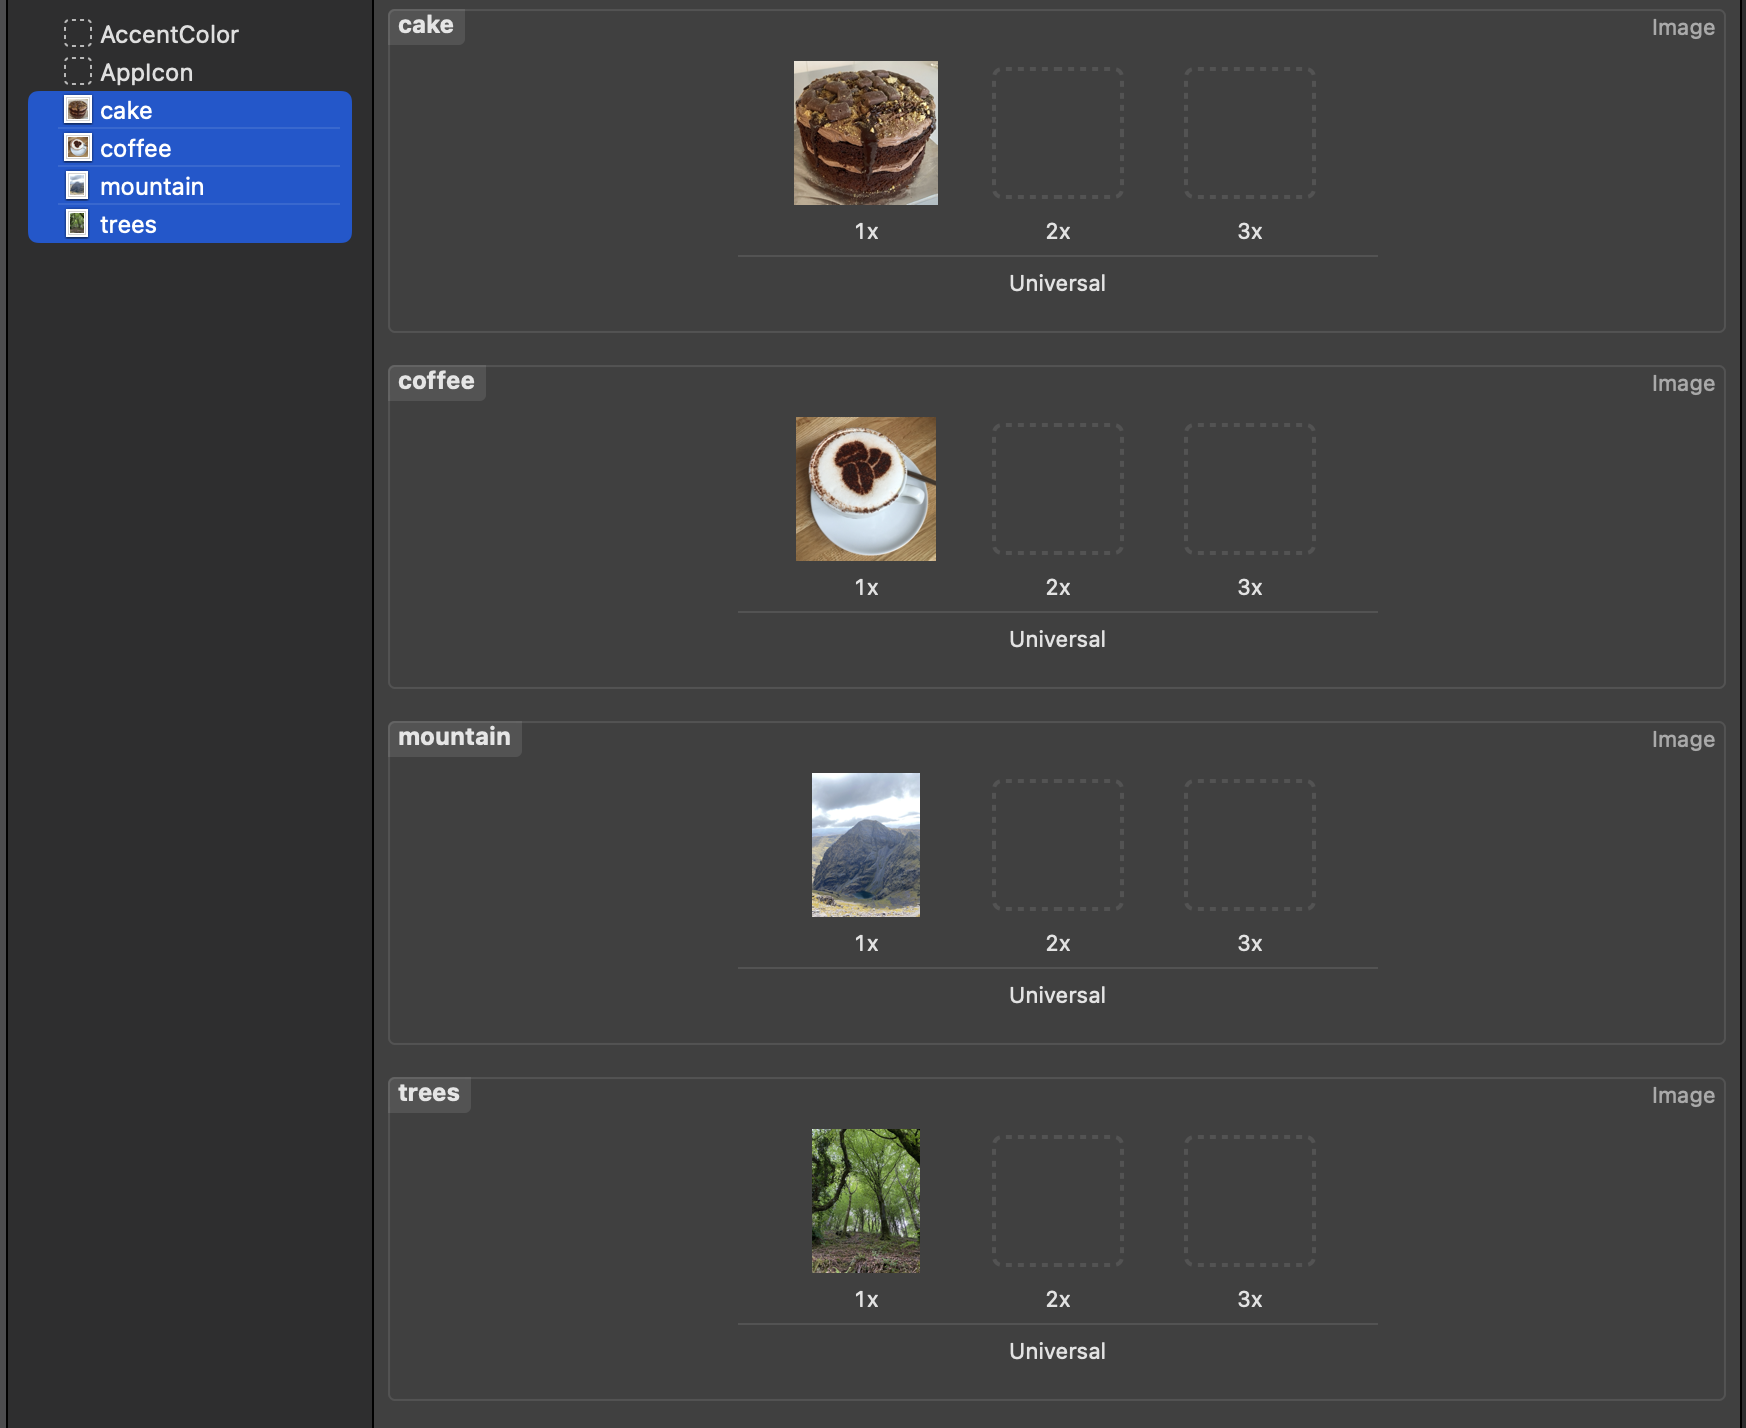
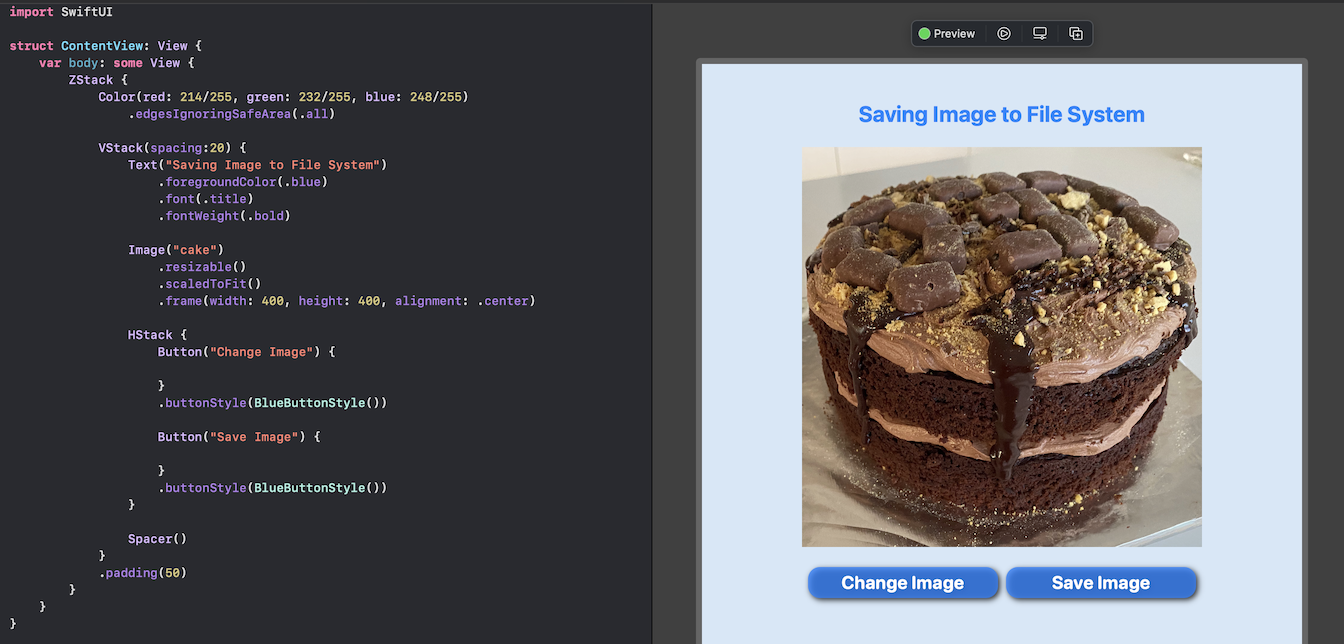
Create a new macOS app in Xcode. Add some images to the App Assets by dragging the images into the Assets. These can be given descriptive names to be used when referencing the images. This code lays out the main view with a title, an Image and buttons to change the image and save the image.
 1struct ContentView: View {
 2    var body: some View {
 3        ZStack {
 4            Color(red: 214/255, green: 232/255, blue: 248/255)
 5                .edgesIgnoringSafeArea(.all)
 6
 7            VStack(spacing:20) {
 8                Text("Saving Image to File System")
 9                    .foregroundColor(.blue)
10                    .font(.title)
11                    .fontWeight(.bold)
12
13                Image("cake")
14                    .resizable()
15                    .scaledToFit()
16                    .frame(width: 400, height: 400, alignment: .center)
17
18                HStack {
19                    Button("Change Image") {
20
21                    }
22                    .buttonStyle(BlueButtonStyle())
23
24                    Button("Save Image") {
25
26                    }
27                    .buttonStyle(BlueButtonStyle())
28                }
29
30                Spacer()
31            }
32            .padding(50)
33        }
34    }
35}
NSSavePanel
The best way to save any file in macOS is to present the user with an open/save
dialog that will allow the user to navigate the file system and choose where to save
the file. Unfortunately, there is no native SwiftUI view or control available to
browse and save files from SwiftUI, but there is in AppKit. AppKit provides
NSSavePanel that presents a panel in a separate process, which allows the user to
set the name of the file and specify the location to save the file. Add a function
showSavePanel to the view to instantiate the NSSavePanel and capture the response.
 1    func showSavePanel() -> URL? {
 2        let savePanel = NSSavePanel()
 3        savePanel.allowedContentTypes = [.png]
 4        savePanel.canCreateDirectories = true
 5        savePanel.isExtensionHidden = false
 6        savePanel.title = "Save your image"
 7        savePanel.message = "Choose a folder and a name to store the image."
 8        savePanel.nameFieldLabel = "Image file name:"
 9
10        let response = savePanel.runModal()
11        return response == .OK ? savePanel.url : nil
12    }
13
14. . .
15
16                    .buttonStyle(BlueButtonStyle())
17
18                    Button("Save Image") {
19                        showSavePanel()
20                    }
21                    .buttonStyle(BlueButtonStyle())
22. . .
23
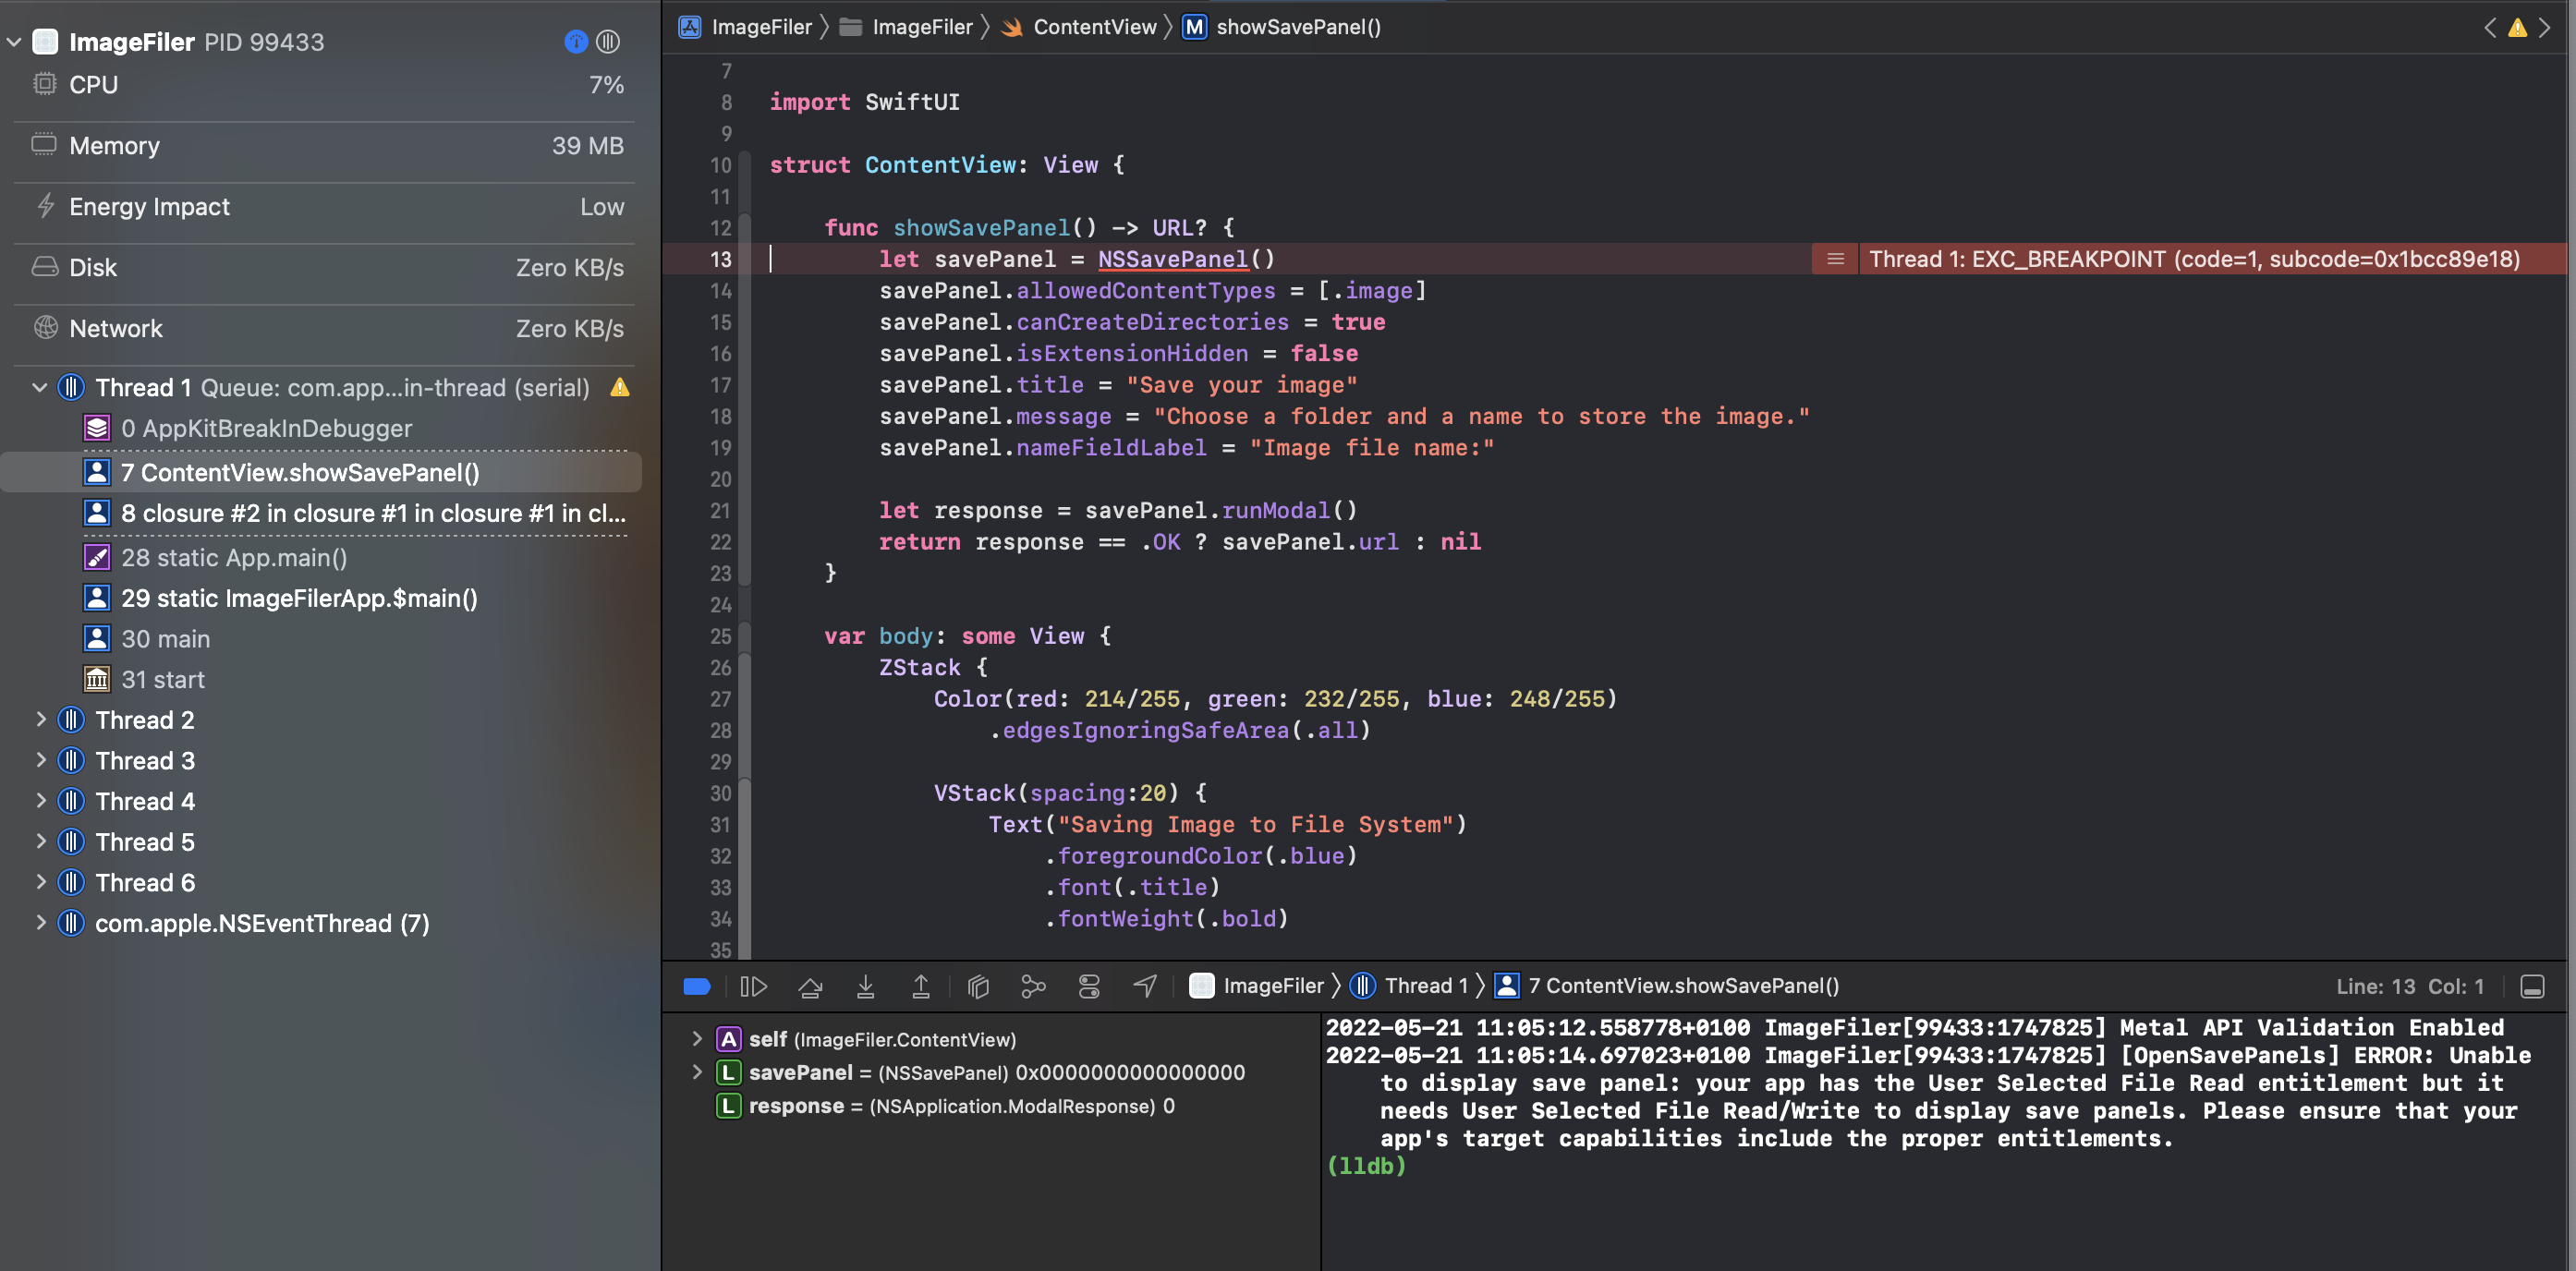
Running this App now and selecting the Save Image button results in a runtime
error. The default entitlements only allow reading from the file system.
ERROR: Unable to display save panel: your app has the User Selected File Read entitlement but it needs User Selected File Read/Write to display save panels. Please ensure that your app's target capabilities include the proper entitlements.
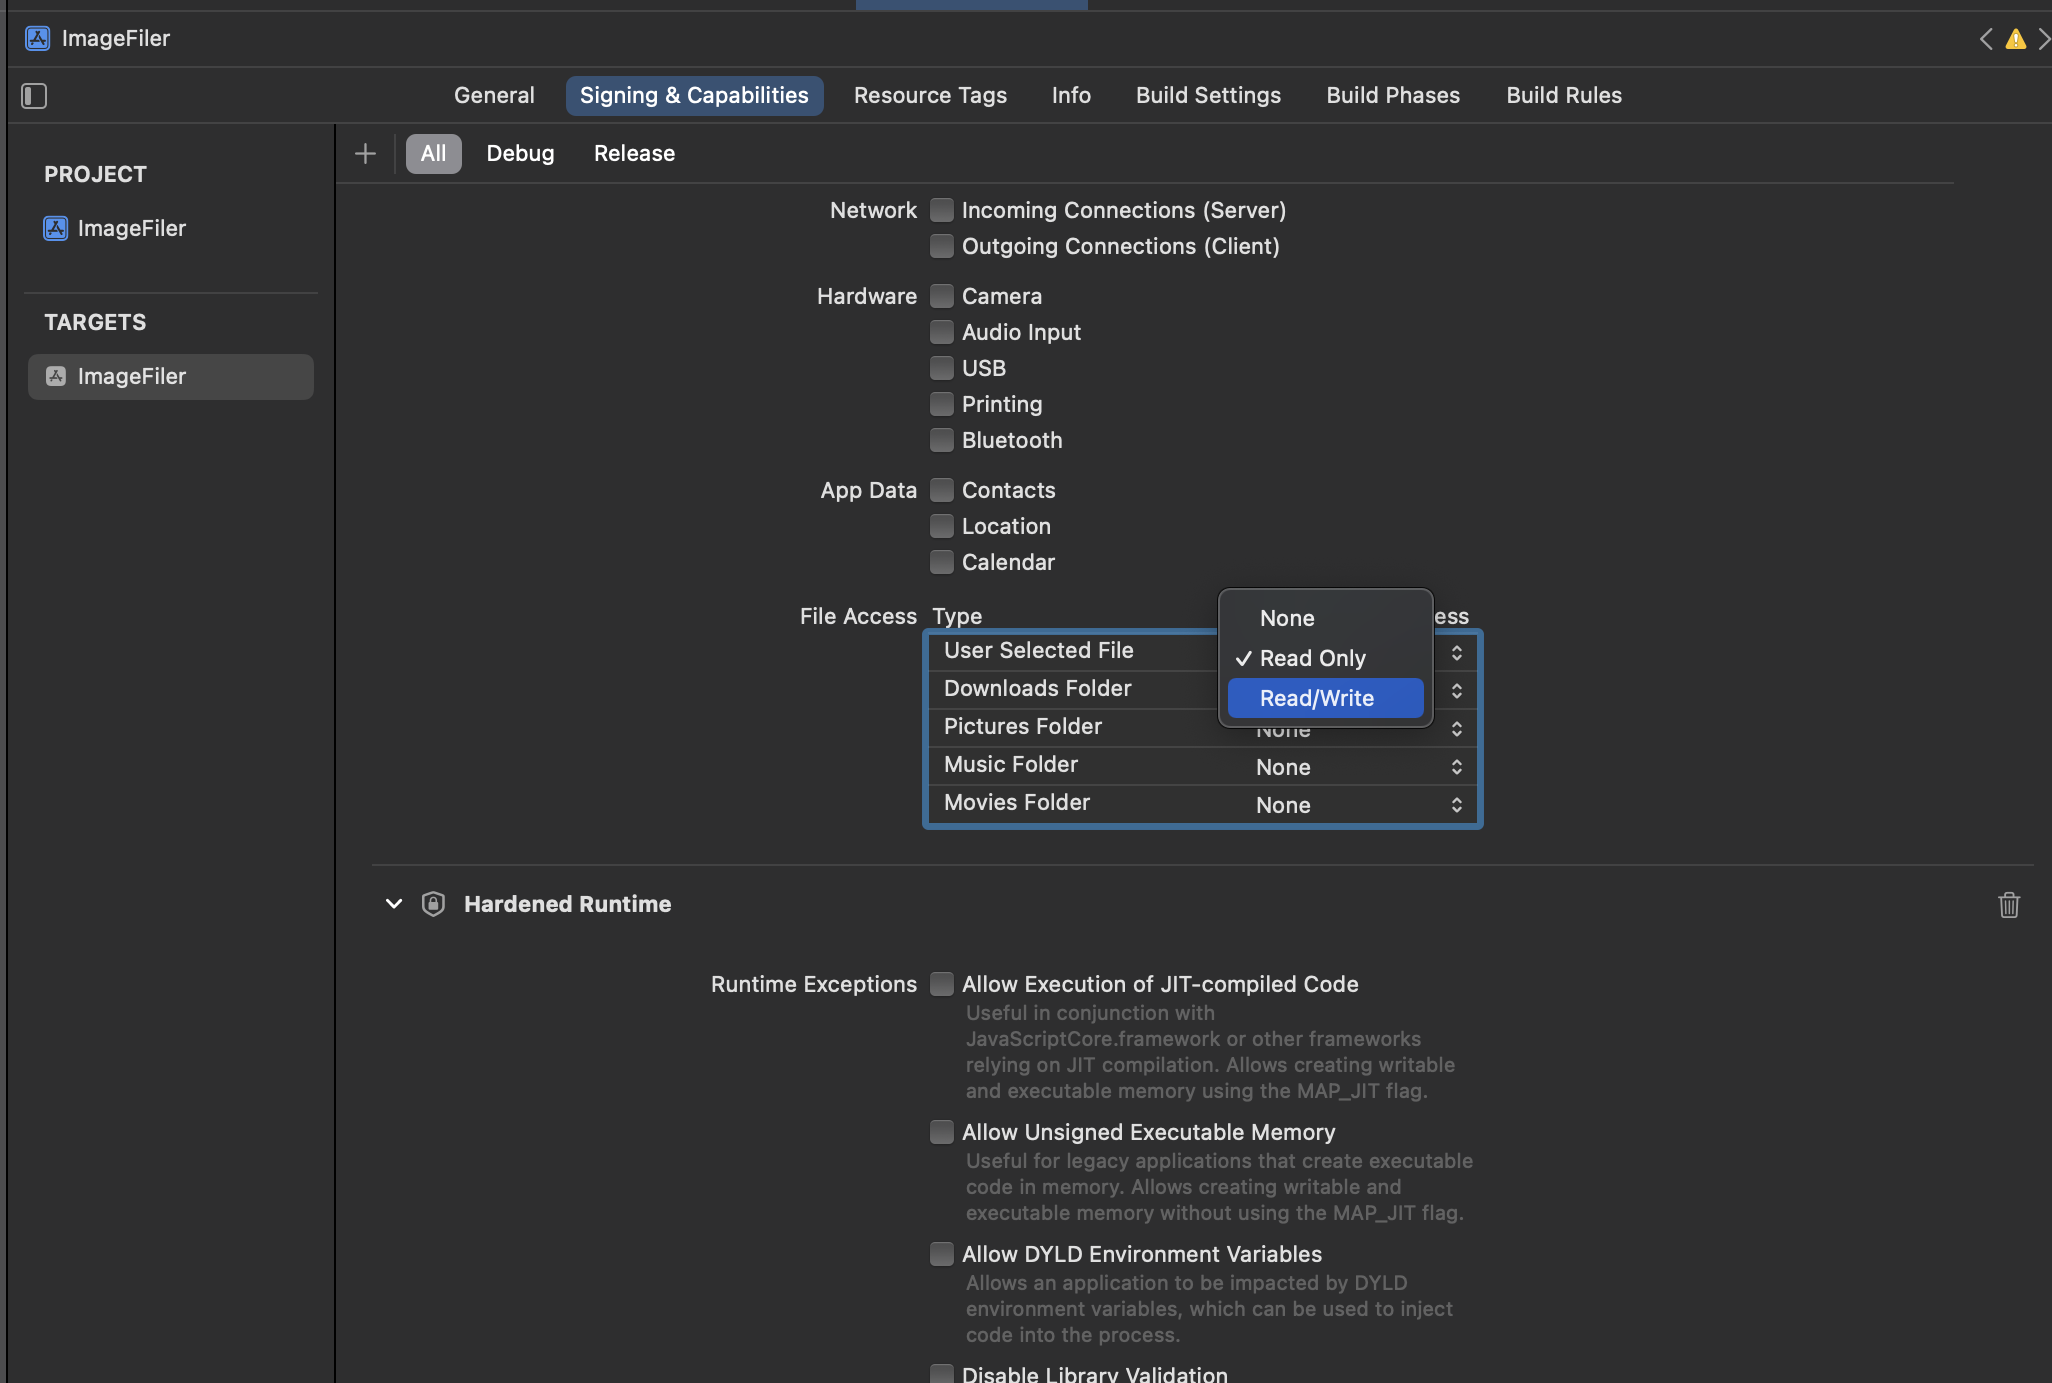
Read/Write Entitlement
To set the file access entitlements, select the App in the Project Navigator panel.
Then select the app under TARGETS and select Signing & Capabilities. Look
for File Access in the App Sandbox settings. Change the Permission & Access value to Read/Write for User Selected File.
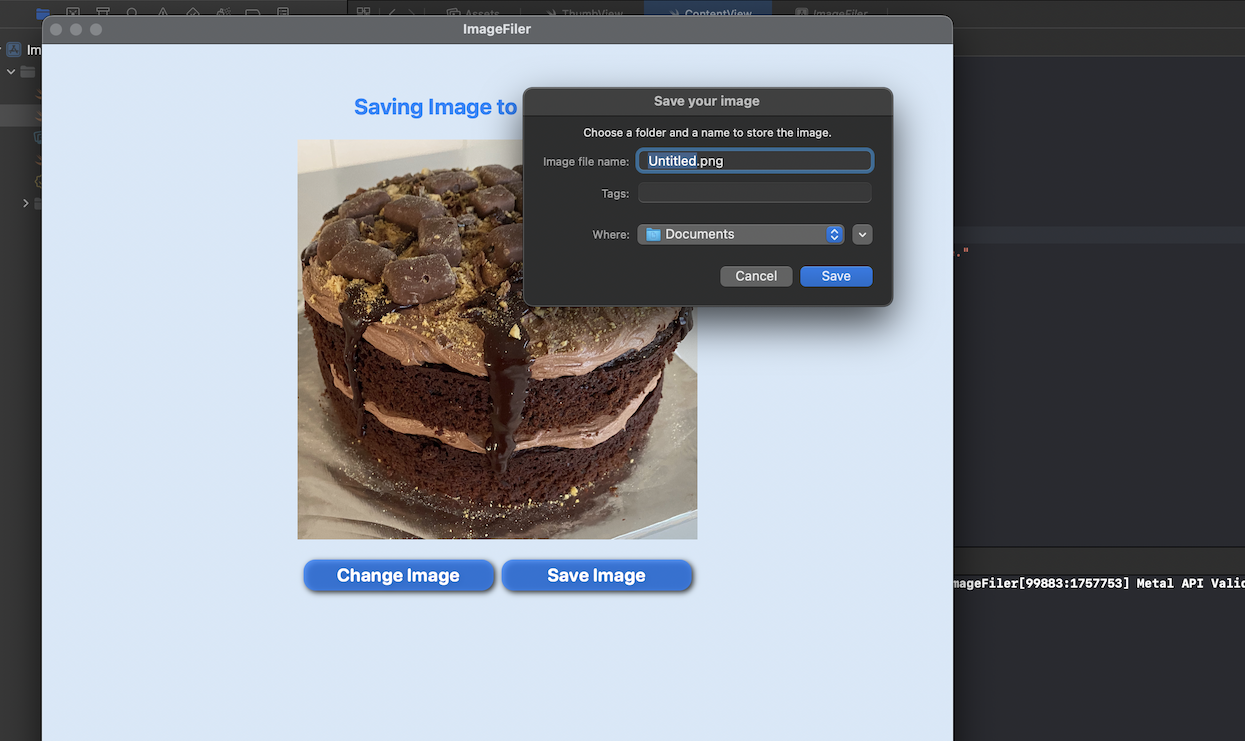
Run the application again and select Save Image. This time there is no error and
the save panel is displayed. Of course the file is not saved as that has not been
implemented yet.
Save the Image
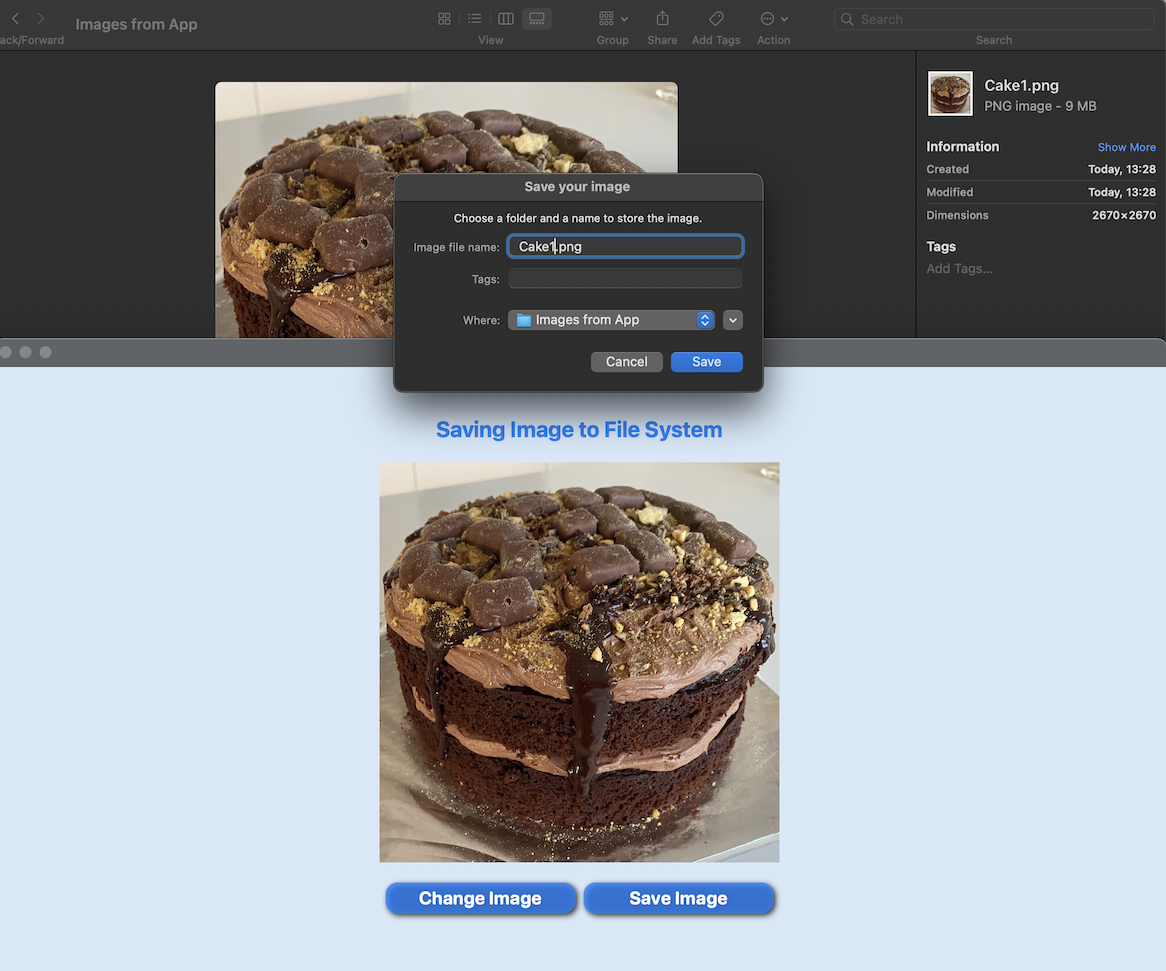
The showSavePanel function uses NSSavePanel to allow the user to specify the
folder and file and returns an optional URL. The NSSavePanel provides a lot of
functionality out of the box such as the options to create new folders or to cancel.
It also handles the case where the filename is blanked out by disabling the Save
button. The returned optional url can easily be tested and only proceed to save the
image when the url is not nil.
The savePNG function creates an NSImage using the named resource and uses
NSBitmapImageRep to format the bitmap representation’s image data using png
storage type and an empty property set. This data is then written to the path set
from the NSSavePanel.
 1struct ContentView: View {
 2
 3    func showSavePanel() -> URL? {
 4        let savePanel = NSSavePanel()
 5        savePanel.allowedContentTypes = [.png]
 6        savePanel.canCreateDirectories = true
 7        savePanel.isExtensionHidden = false
 8        savePanel.title = "Save your image"
 9        savePanel.message = "Choose a folder and a name to store the image."
10        savePanel.nameFieldLabel = "Image file name:"
11
12        let response = savePanel.runModal()
13        return response == .OK ? savePanel.url : nil
14    }
15
16    func savePNG(imageName: String, path: URL) {
17        let image = NSImage(named: imageName)!
18        let imageRepresentation = NSBitmapImageRep(data: image.tiffRepresentation!)
19        let pngData = imageRepresentation?.representation(using: .png, properties: [:])
20        do {
21            try pngData!.write(to: path)
22        } catch {
23            print(error)
24        }
25    }
26
27    var body: some View {
28        ZStack {
29            Color(red: 214/255, green: 232/255, blue: 248/255)
30                .edgesIgnoringSafeArea(.all)
31
32            VStack(spacing:20) {
33                Text("Saving Image to File System")
34                    .foregroundColor(.blue)
35                    .font(.title)
36                    .fontWeight(.bold)
37
38                Image("cake")
39                    .resizable()
40                    .scaledToFit()
41                    .frame(width: 400, height: 400, alignment: .center)
42
43                HStack {
44                    Button("Change Image") {
45
46                    }
47                    .buttonStyle(BlueButtonStyle())
48
49                    Button("Save Image") {
50                        if let url = showSavePanel() {
51                            savePNG(imageName: "cake", path: url)
52                        }
53                    }
54                    .buttonStyle(BlueButtonStyle())
55                }
56
57                Spacer()
58            }
59            .padding(50)
60        }
61    }
62}
Switch Image and Save
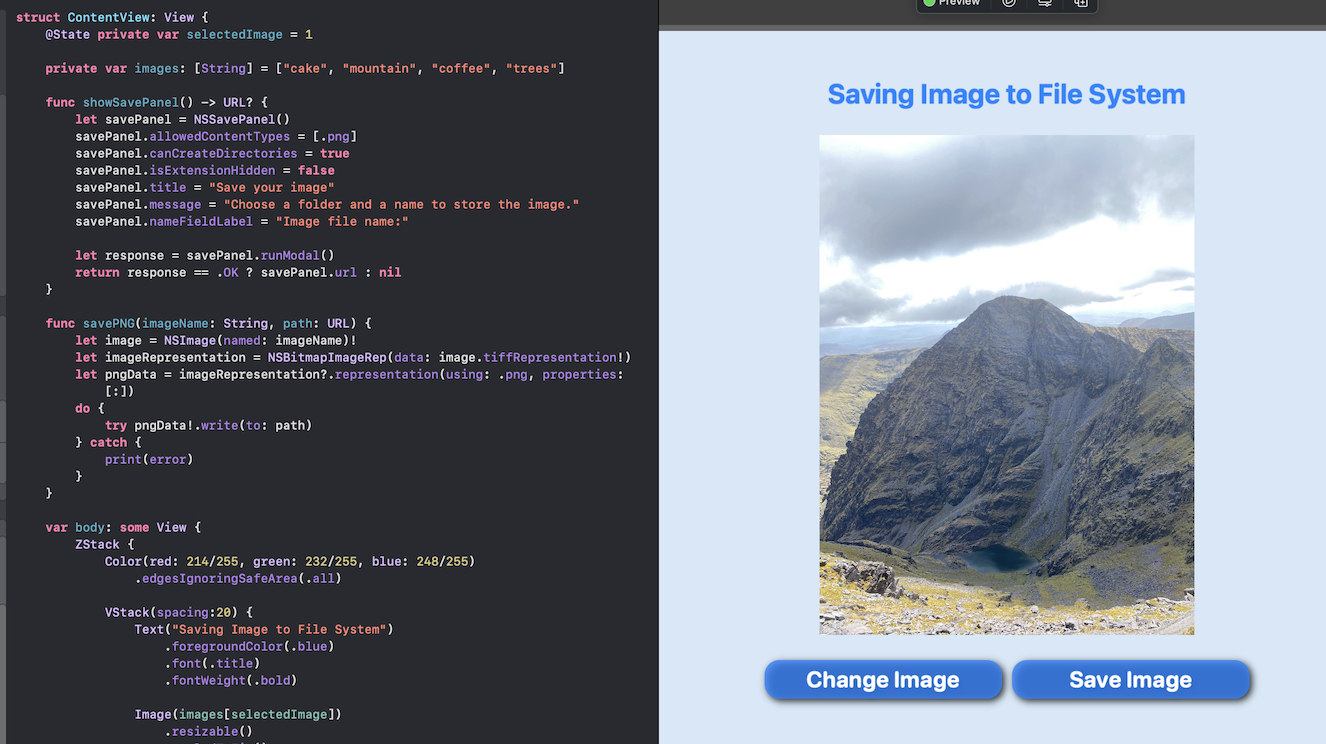
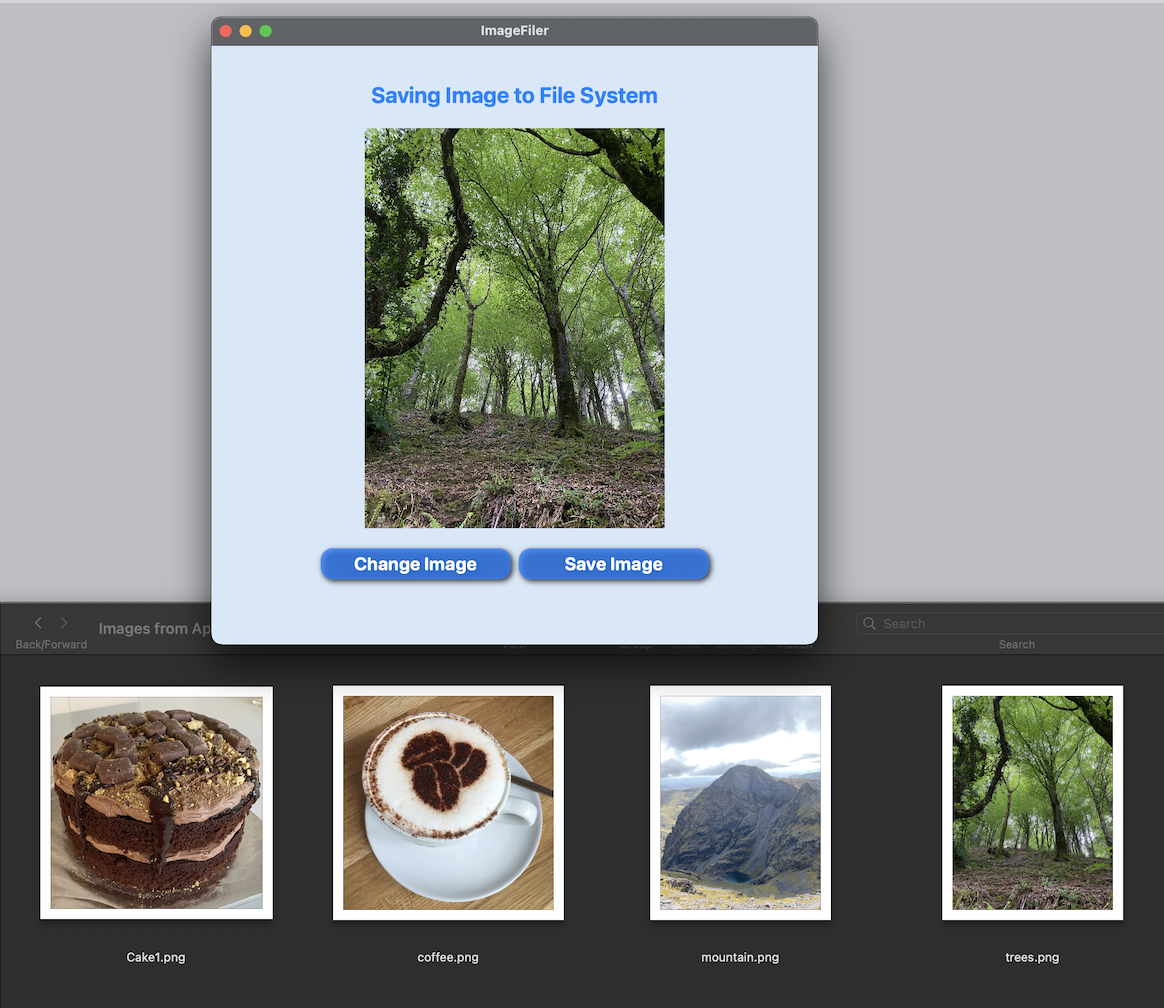
The code above is hard-coded to save the cake image. Let's implement the
Change Image and save the displayed image. An Array of images is created and a
state property is used to store the index of the currently selected image. The
Change Image button iterates over the list of images and the Save Image is set to
save the currently selected image.
 1struct ContentView: View {
 2    @State private var selectedImage = 1
 3
 4    private var images: [String] = ["cake", "mountain", "coffee", "trees"]
 5
 6    func showSavePanel() -> URL? {
 7        let savePanel = NSSavePanel()
 8        savePanel.allowedContentTypes = [.png]
 9        savePanel.canCreateDirectories = true
10        savePanel.isExtensionHidden = false
11        savePanel.title = "Save your image"
12        savePanel.message = "Choose a folder and a name to store the image."
13        savePanel.nameFieldLabel = "Image file name:"
14
15        let response = savePanel.runModal()
16        return response == .OK ? savePanel.url : nil
17    }
18
19    func savePNG(imageName: String, path: URL) {
20        let image = NSImage(named: imageName)!
21        let imageRepresentation = NSBitmapImageRep(data: image.tiffRepresentation!)
22        let pngData = imageRepresentation?.representation(using: .png, properties: [:])
23        do {
24            try pngData!.write(to: path)
25        } catch {
26            print(error)
27        }
28    }
29
30    var body: some View {
31        ZStack {
32            Color(red: 214/255, green: 232/255, blue: 248/255)
33                .edgesIgnoringSafeArea(.all)
34
35            VStack(spacing:20) {
36                Text("Saving Image to File System")
37                    .foregroundColor(.blue)
38                    .font(.title)
39                    .fontWeight(.bold)
40
41                Image(images[selectedImage])
42                    .resizable()
43                    .scaledToFit()
44                    .frame(width: 400, height: 400, alignment: .center)
45
46                HStack {
47                    Button("Change Image") {
48                        selectedImage = (selectedImage + 1) % images.count
49                    }
50                    .buttonStyle(BlueButtonStyle())
51
52                    Button("Save Image") {
53                        if let url = showSavePanel() {
54                            savePNG(imageName: images[selectedImage], path: url)
55                        }
56                    }
57                    .buttonStyle(BlueButtonStyle())
58                }
59
60                Spacer()
61            }
62            .padding(50)
63        }
64    }
65}
Conclusion
I feel that SwiftUI should have a native mechanism of presenting the user with a panel to open or save to the file system. No doubt there are challenges of making a consistent UI that would work in SwiftUI on the different Operating Systems supported. For now, we will have to resort to using AppKit in macOS SwiftUI applications. This article demonstrated how to use NSSavePanel to present the panel to the user and return the URL for the file and how to use NSBitmapImageRep to save a png image. The User Selected File entitlement has to be set to Read/Write to allow the app to save files.